At Kenyon Noble, we love a good DIY project! We have a DIY project that our friend Tracie was interested in doing so we tagged along to get each step.
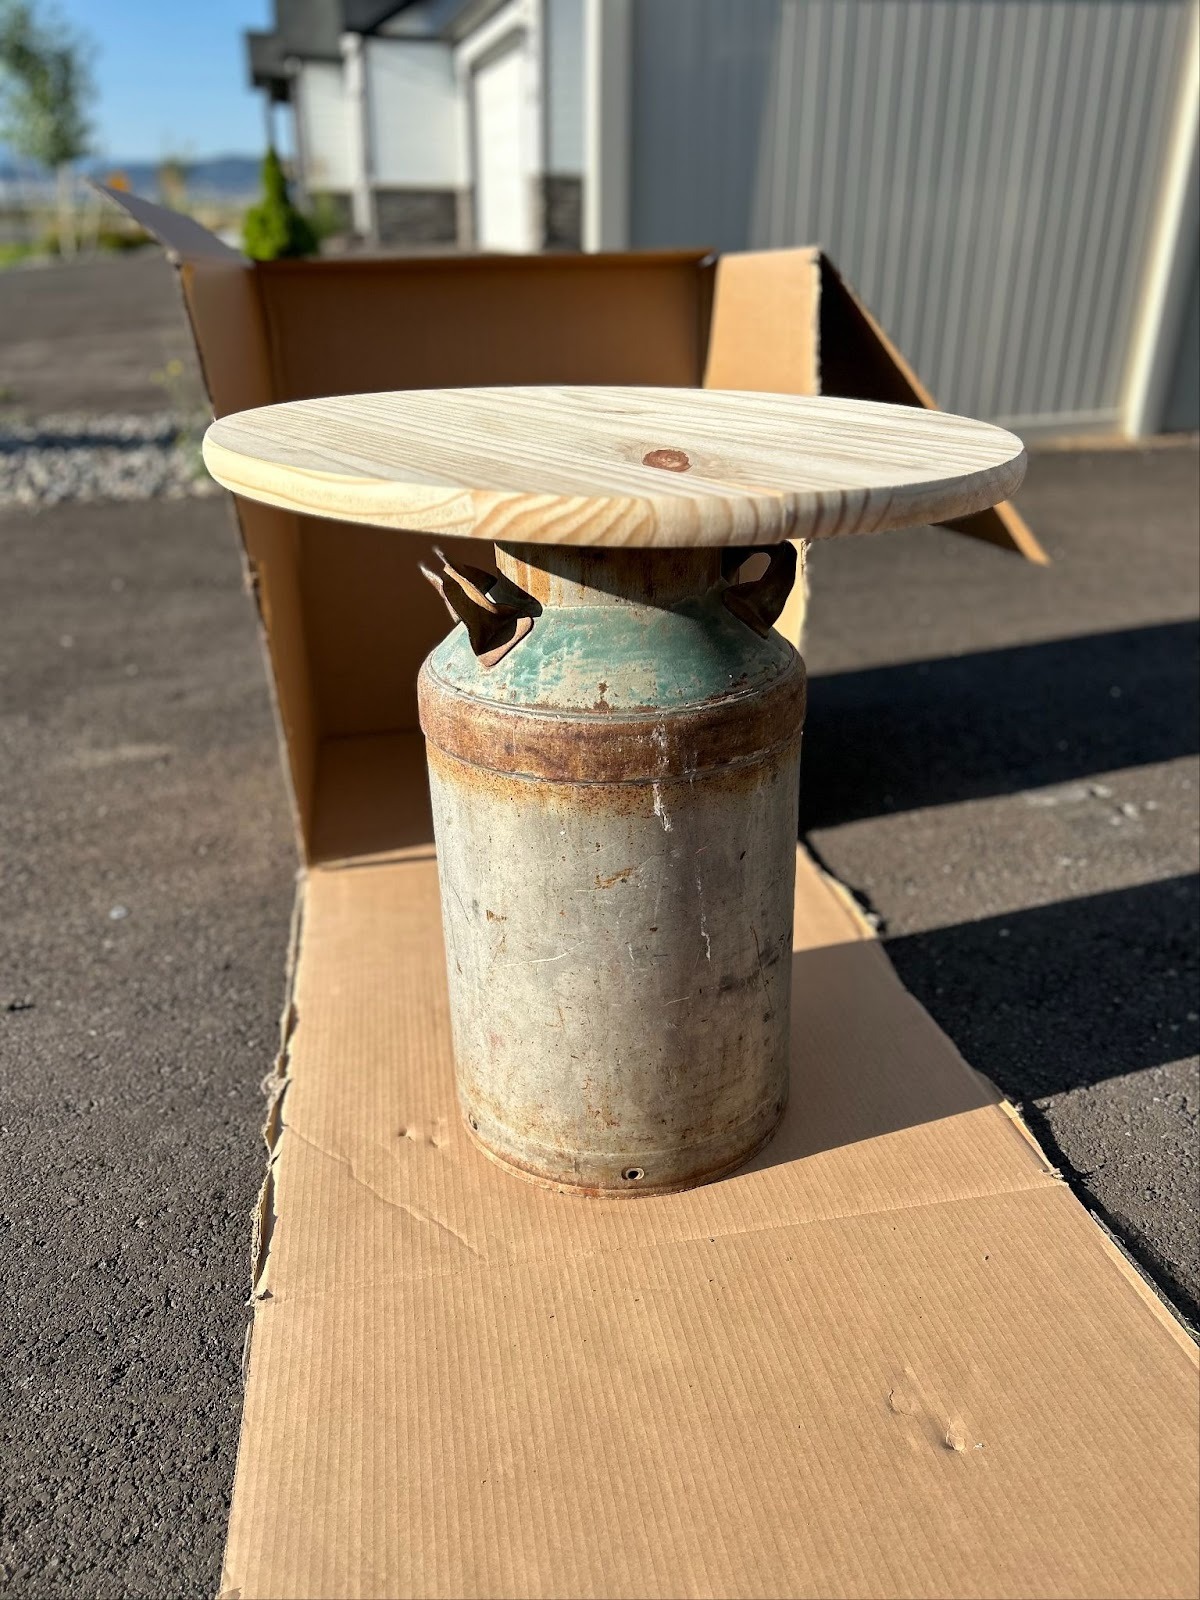
Tracie found an old milk jug in a family barn and wanted to incorporate it into her home but also in her style! She started looking on Pinterest for some ideas and found a milk jug side table and wanted to bring that to life!
So we got to shopping.
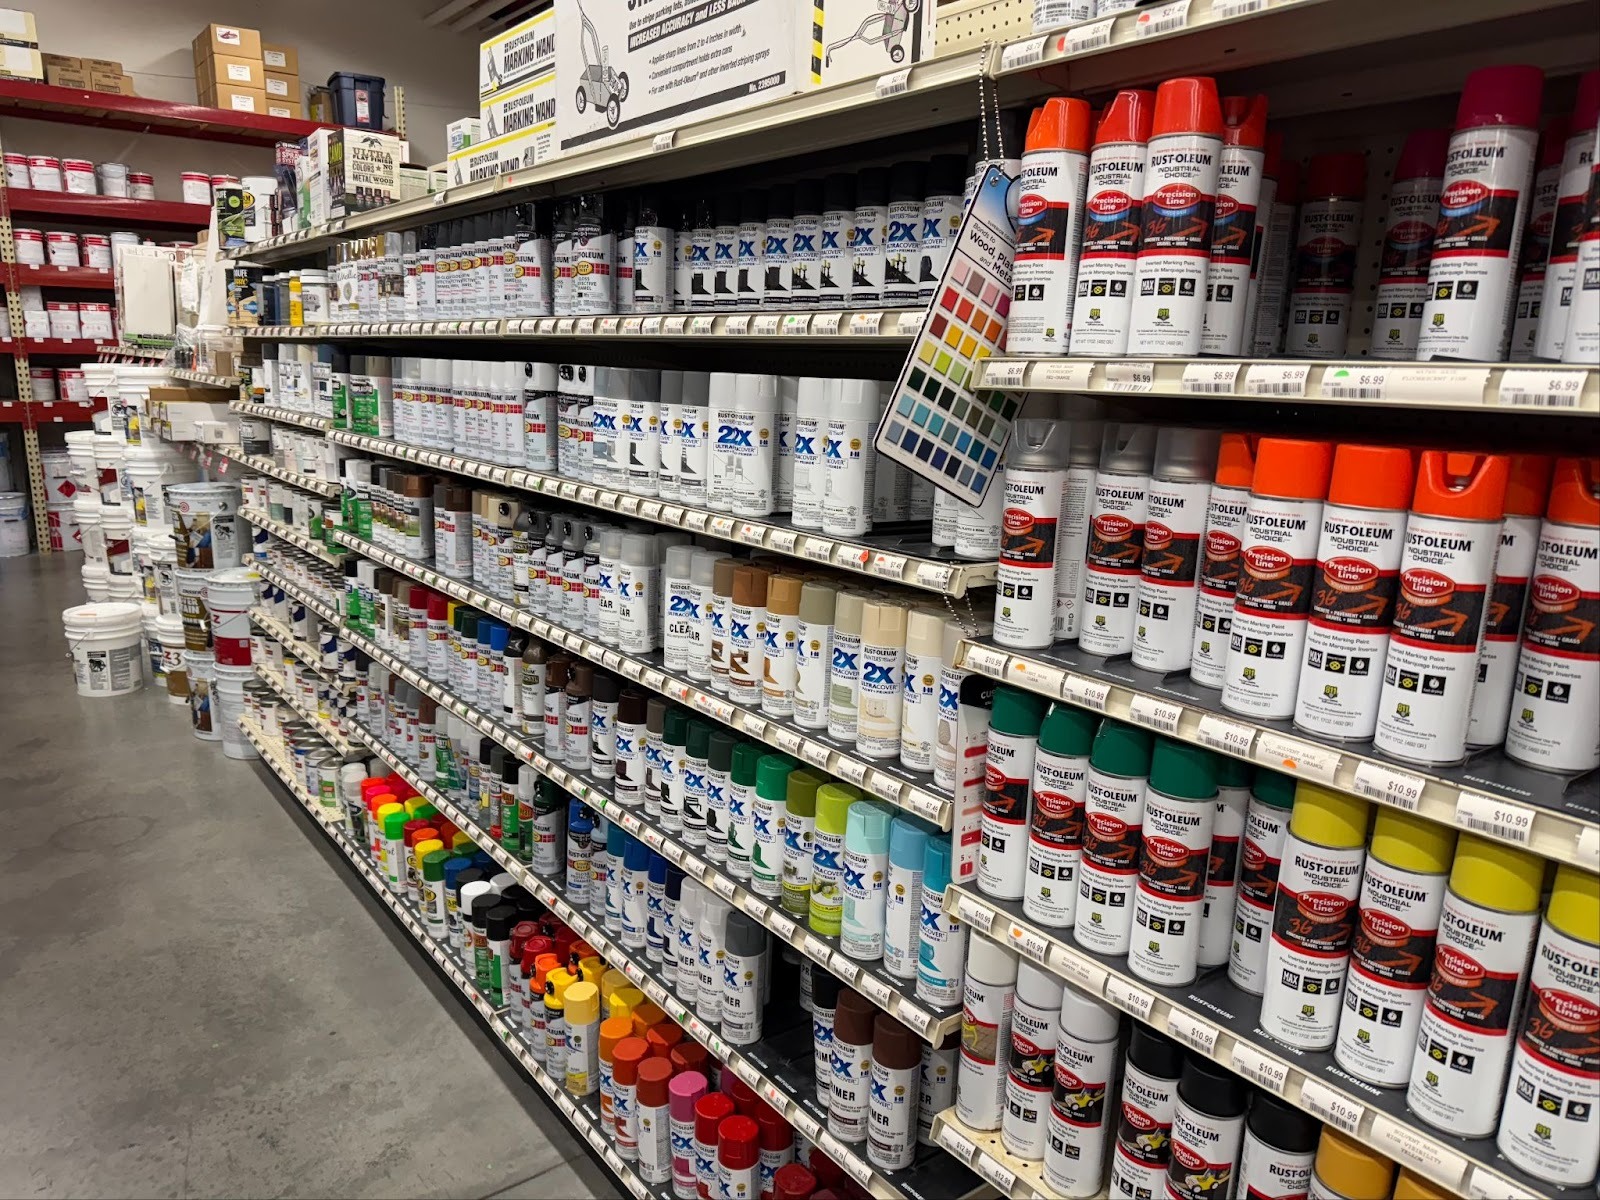
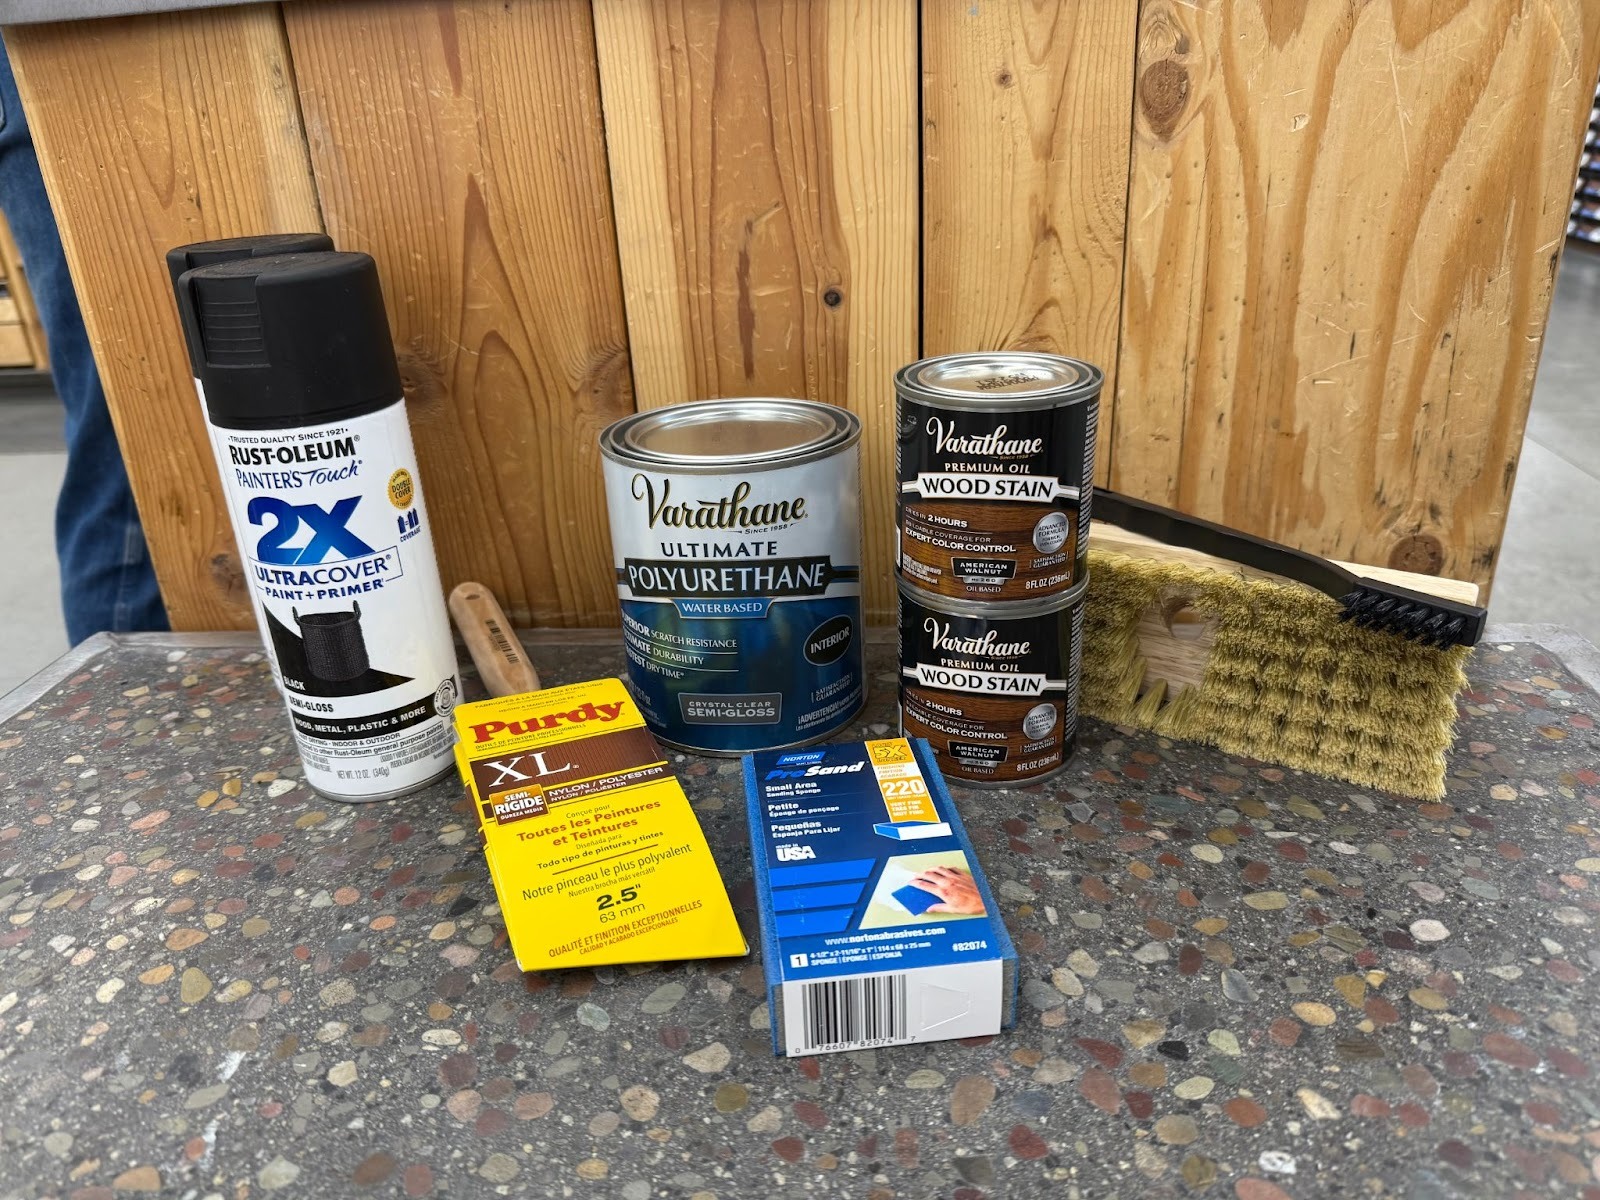
There are many different colors and sheens of paint to choose from for any project. Talking with our paint experts, she landed on the following products found at your local Kenyon Noble to get started on her project…
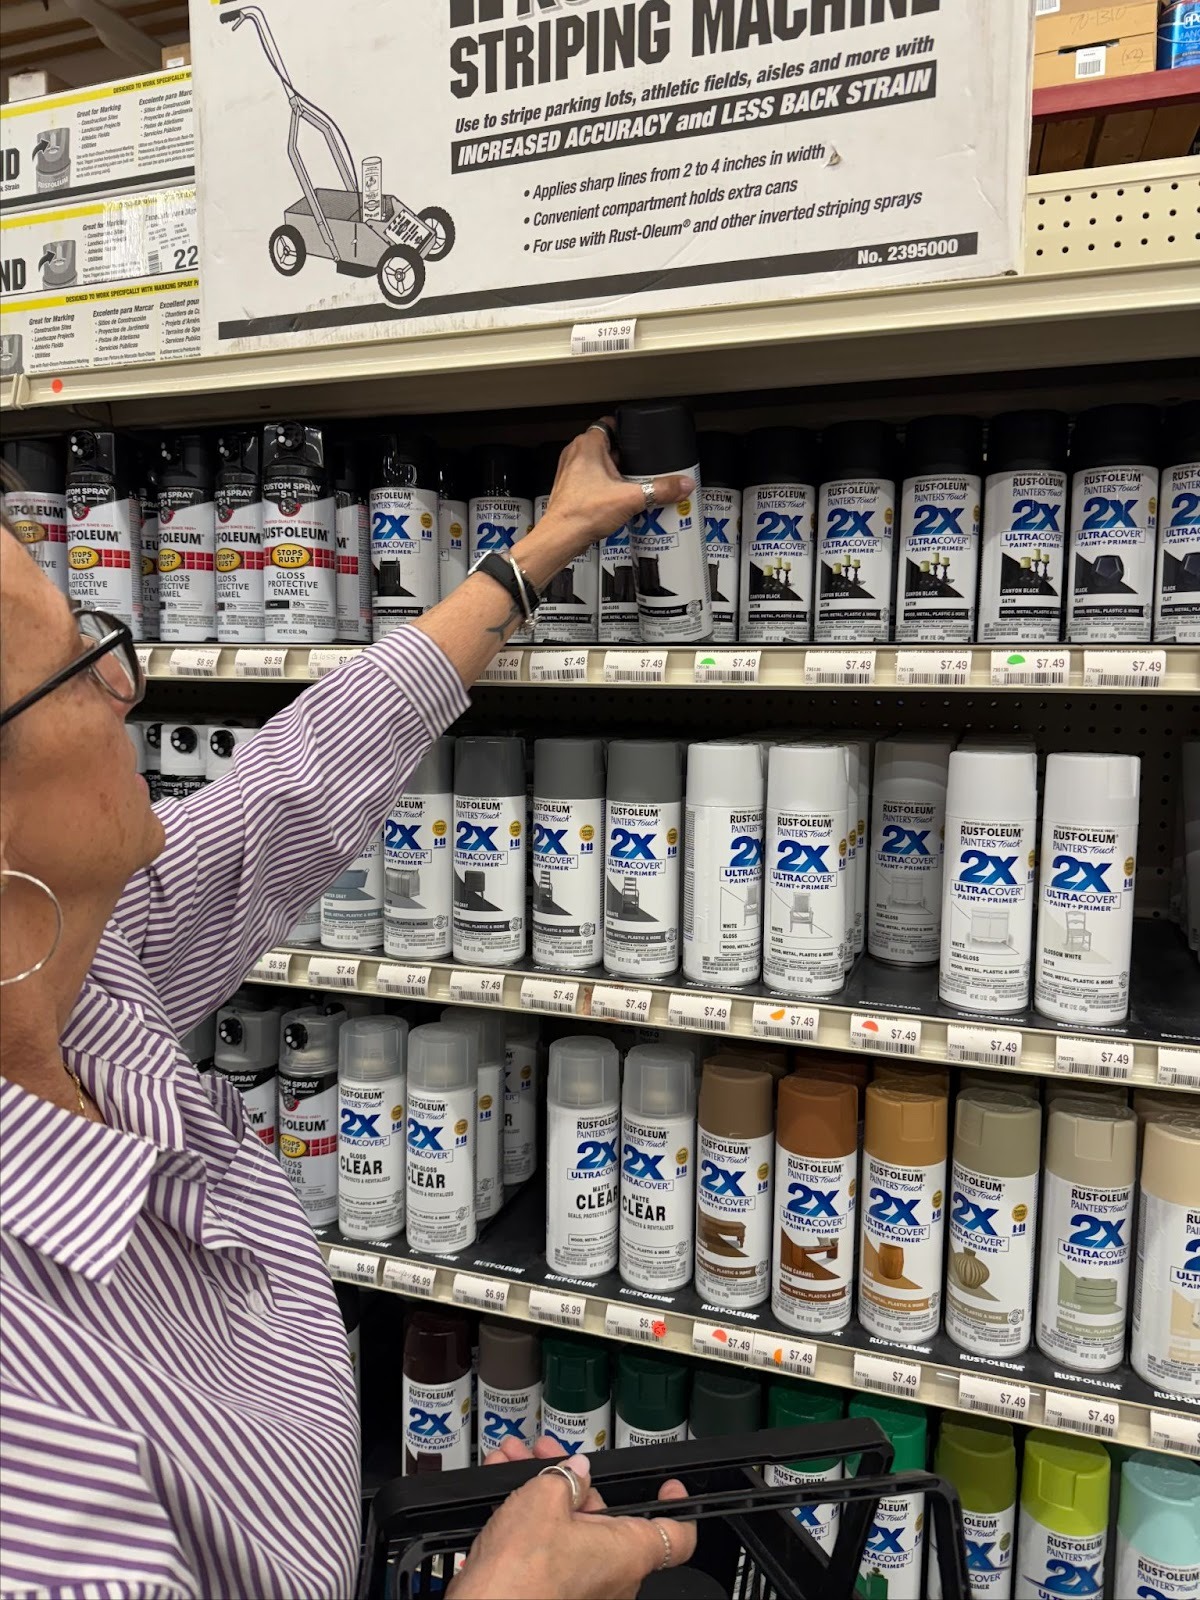
- Paint for the milk jug: Rust-oleum Painter’s Touch Paint & Primer in Black Semi-Gloss
- Sander: 220 Norton PreSand Block
- For cleaning: Bristle Brushes
- For the wooden top: Varathane Premium Oil Wood Stain in American Walnut
- Varathane Ultimate Water Based Polyurethane in Crystal Clear Semi-Gloss
- Purdy XL paint brush
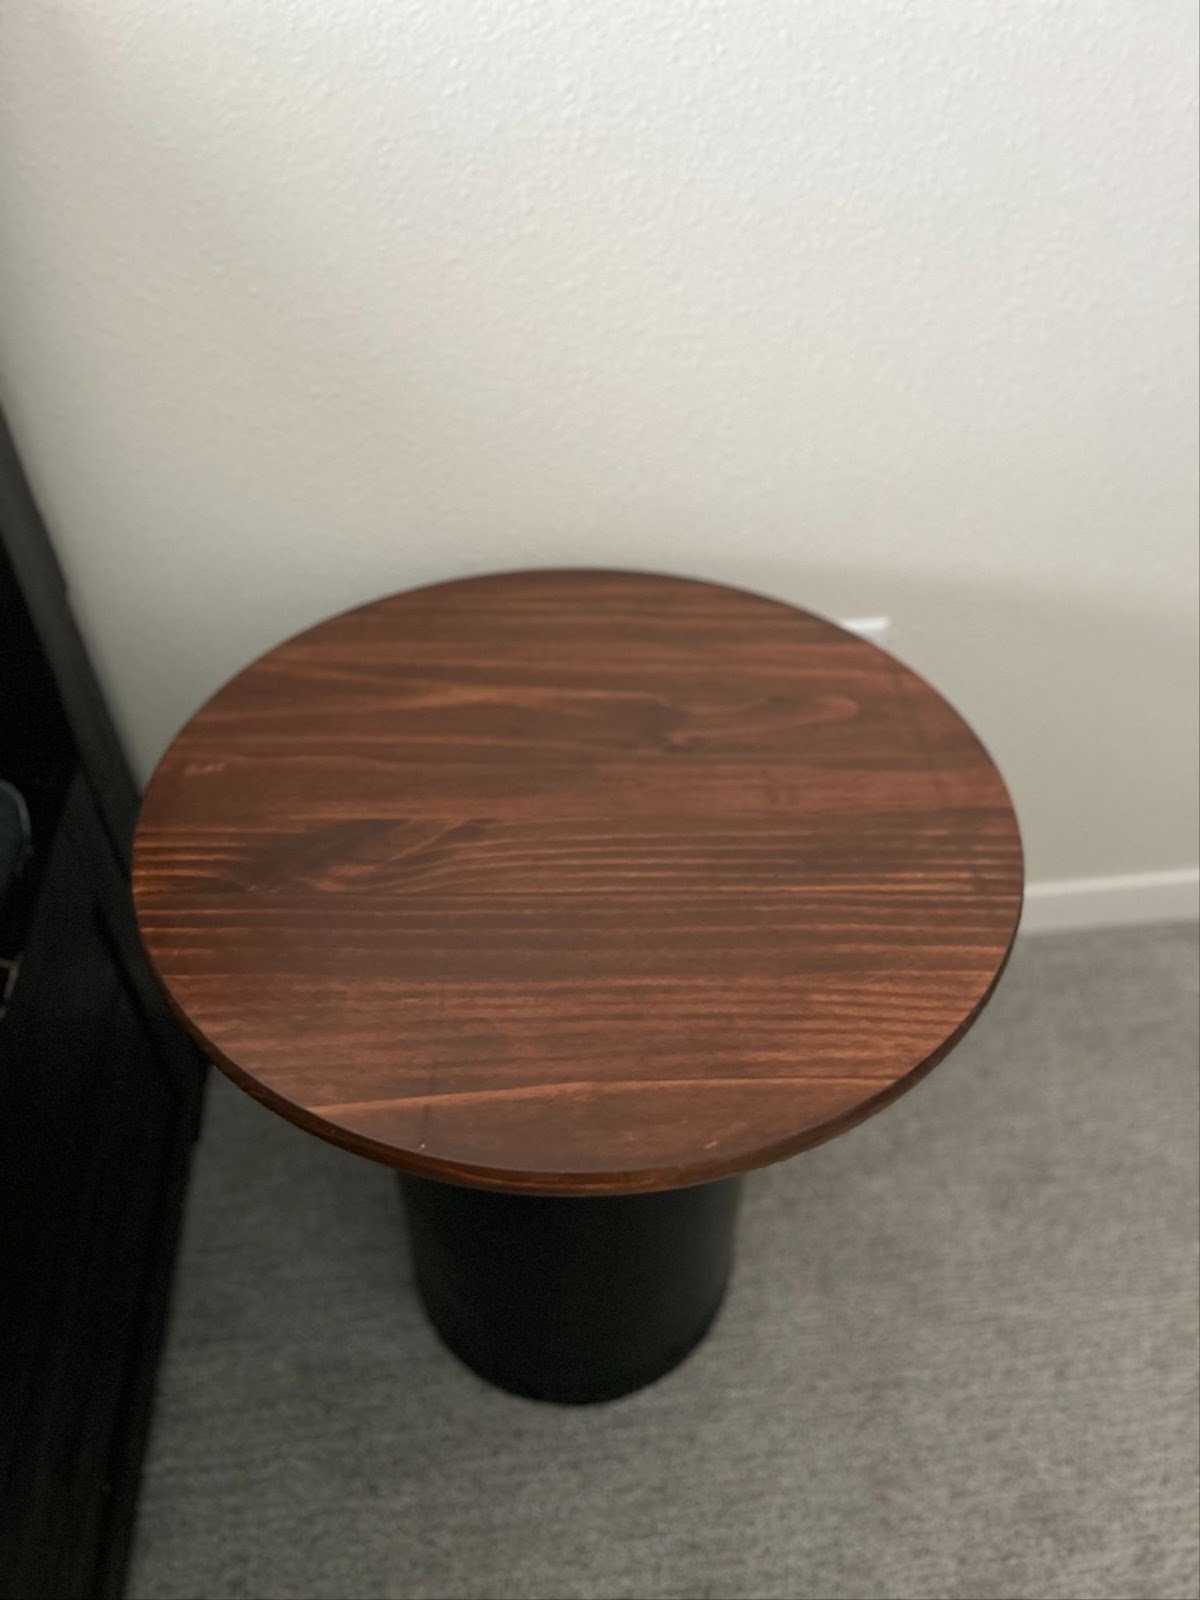
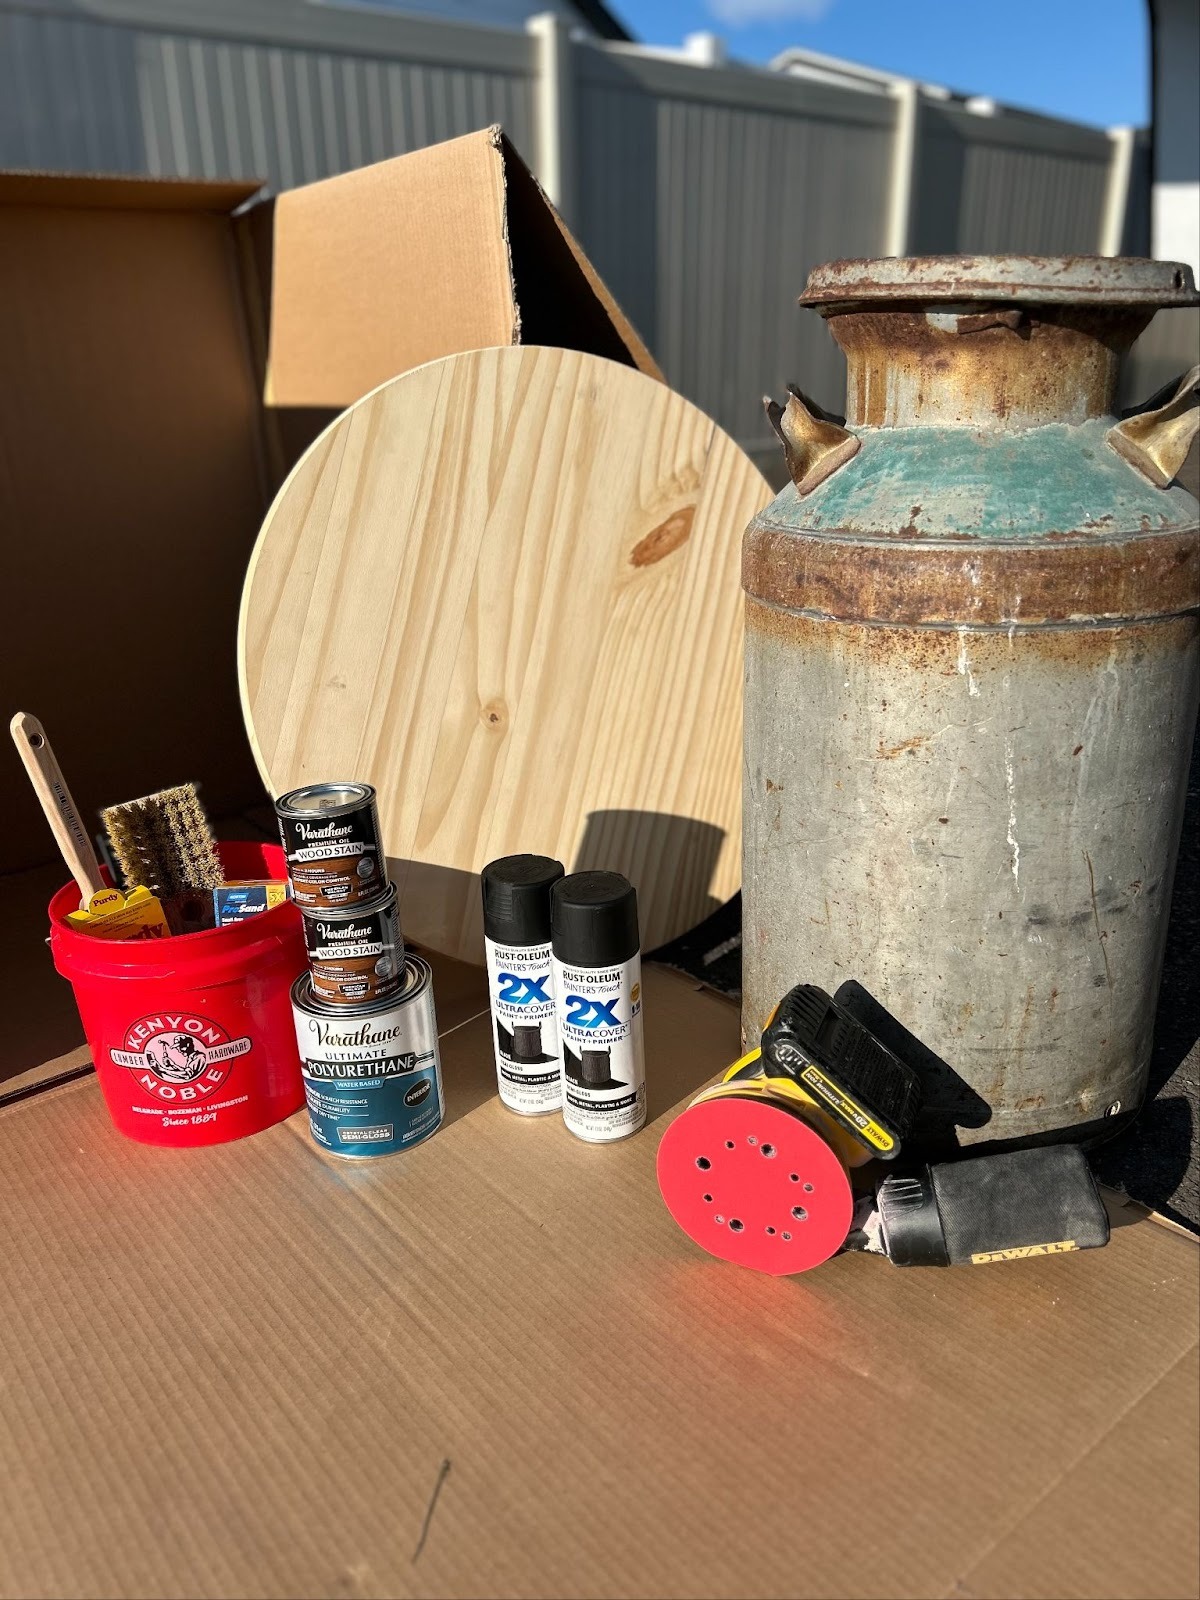
Here is the before picture of the vision and we will give you a step-by-step instruction!
Step 1: Sand the milk jug and the wooden top. Tracie used a hand sander with a 220 sanding pad to remove old paint and rust on the jug and to smooth the edges on the wooden top.
Step 2: Tracie used the bristle brush to get in between the cracks and edges on the milk jug, then she used a damp wipe to get off all the debris.
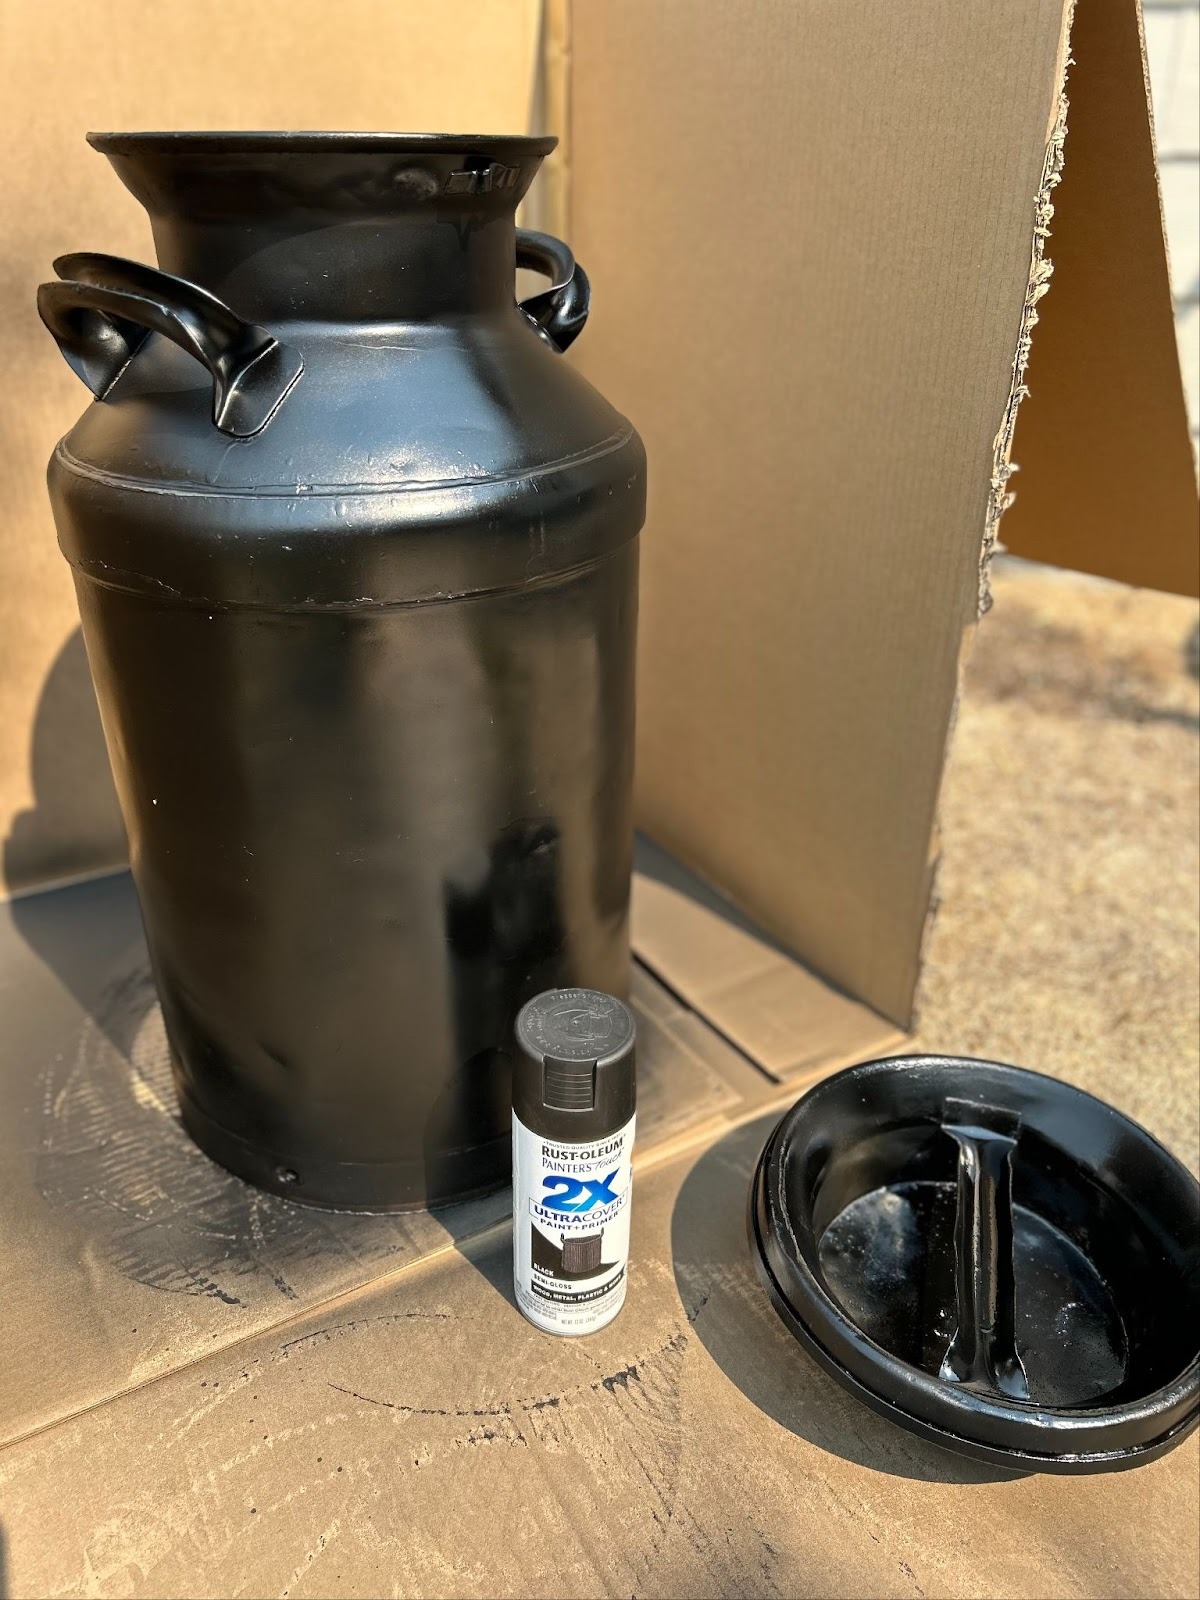
Step 3: For spray painting, we recommend doing it outdoors, if this isn’t possible pick a well ventilated area. Tracie started by spraying the jug with the first coat of the Rust-oleum Painter’s Touch Paint & Primer in Black Semi-Gloss. She chose this product because it was a paint and primer in one. This saves time by not having an extra step!
Step 4: After letting the first coat dry, she noted a few drip spots so she sanded them out then sprayed the second coat.
Step 5: Now that the milk jug is drying, it is time to move onto the wooden table top with the first coat of stain of Varathane Premium Oil Wood Stain in American Walnut. She used a soft cloth instead of a brush as the oil-base stain coats better with a cloth.
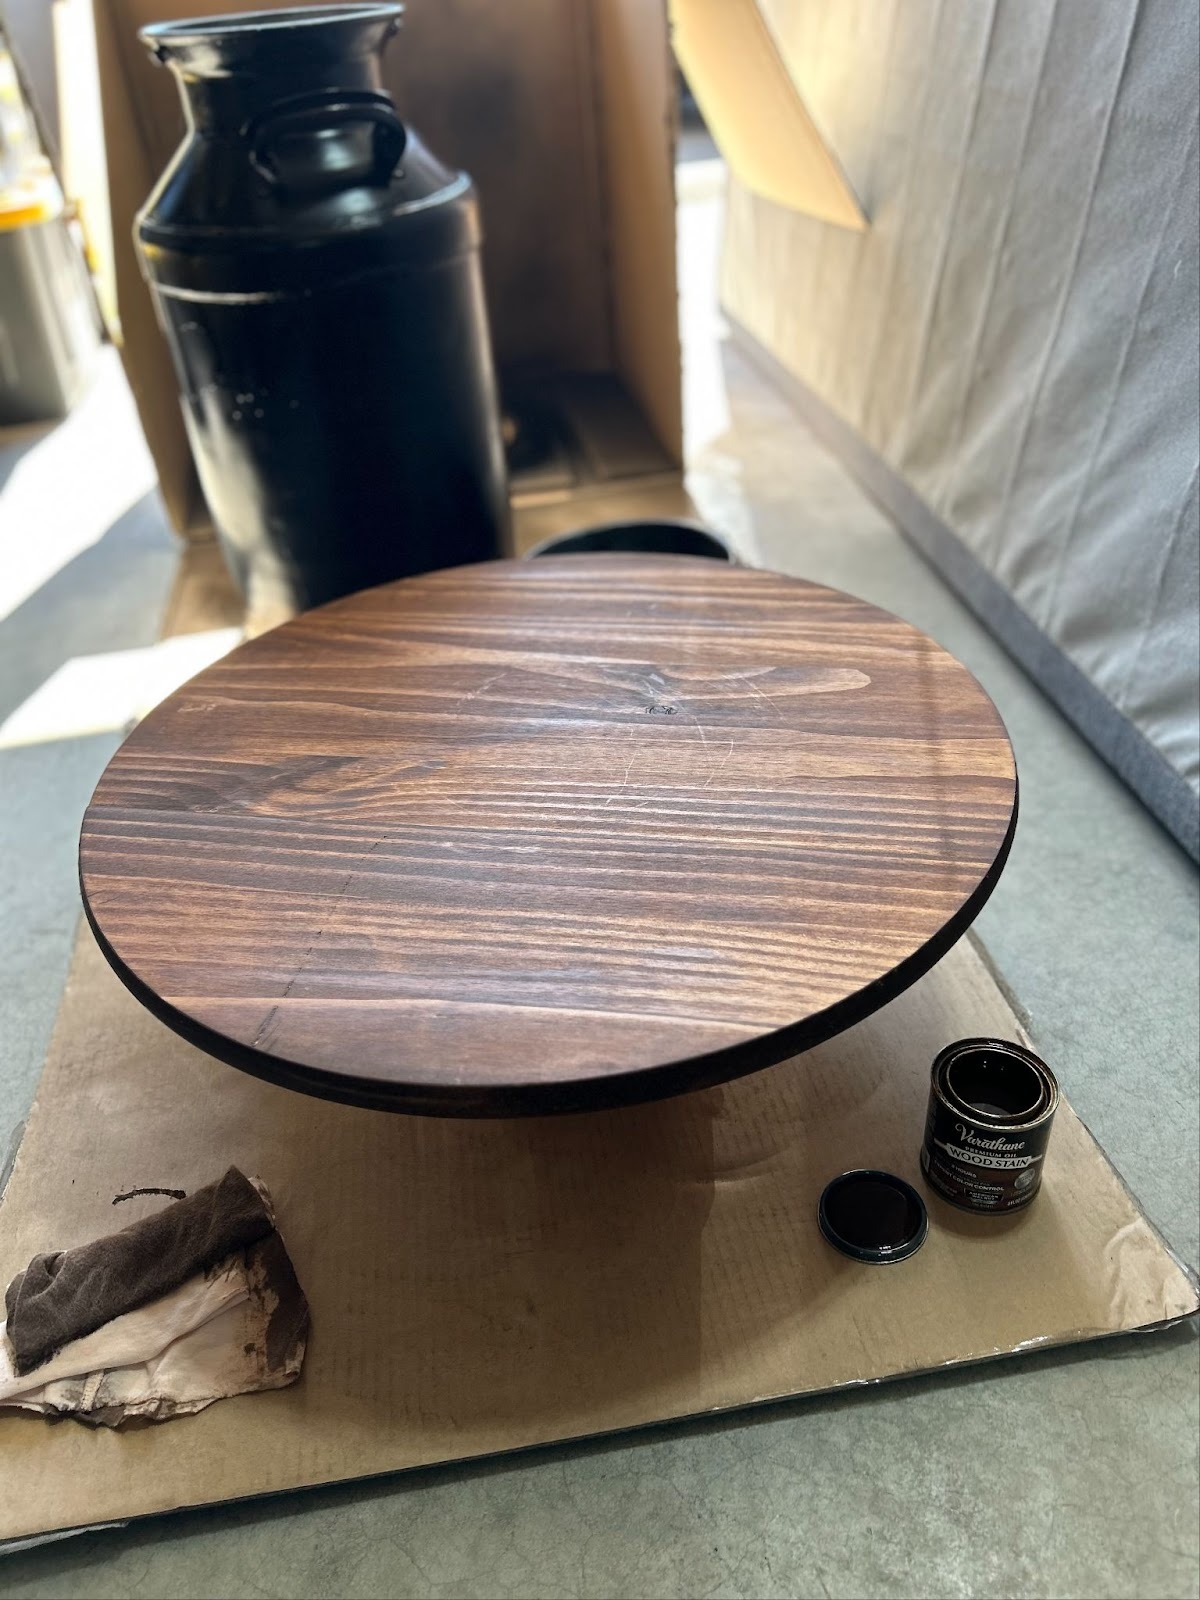
Step 6: The next step is to put the coat of Varathane Ultimate Water Based Polyurethane in Crystal Clear Semi-Gloss. She chose the semi-gloss so there is not too much of a shine. She used a Purdy paint brush to apply the coat.
Step 7: After waiting 24 hours for the top coat to dry, she did a light sanding and then put on another coat of Polyurethane on the wooden top.
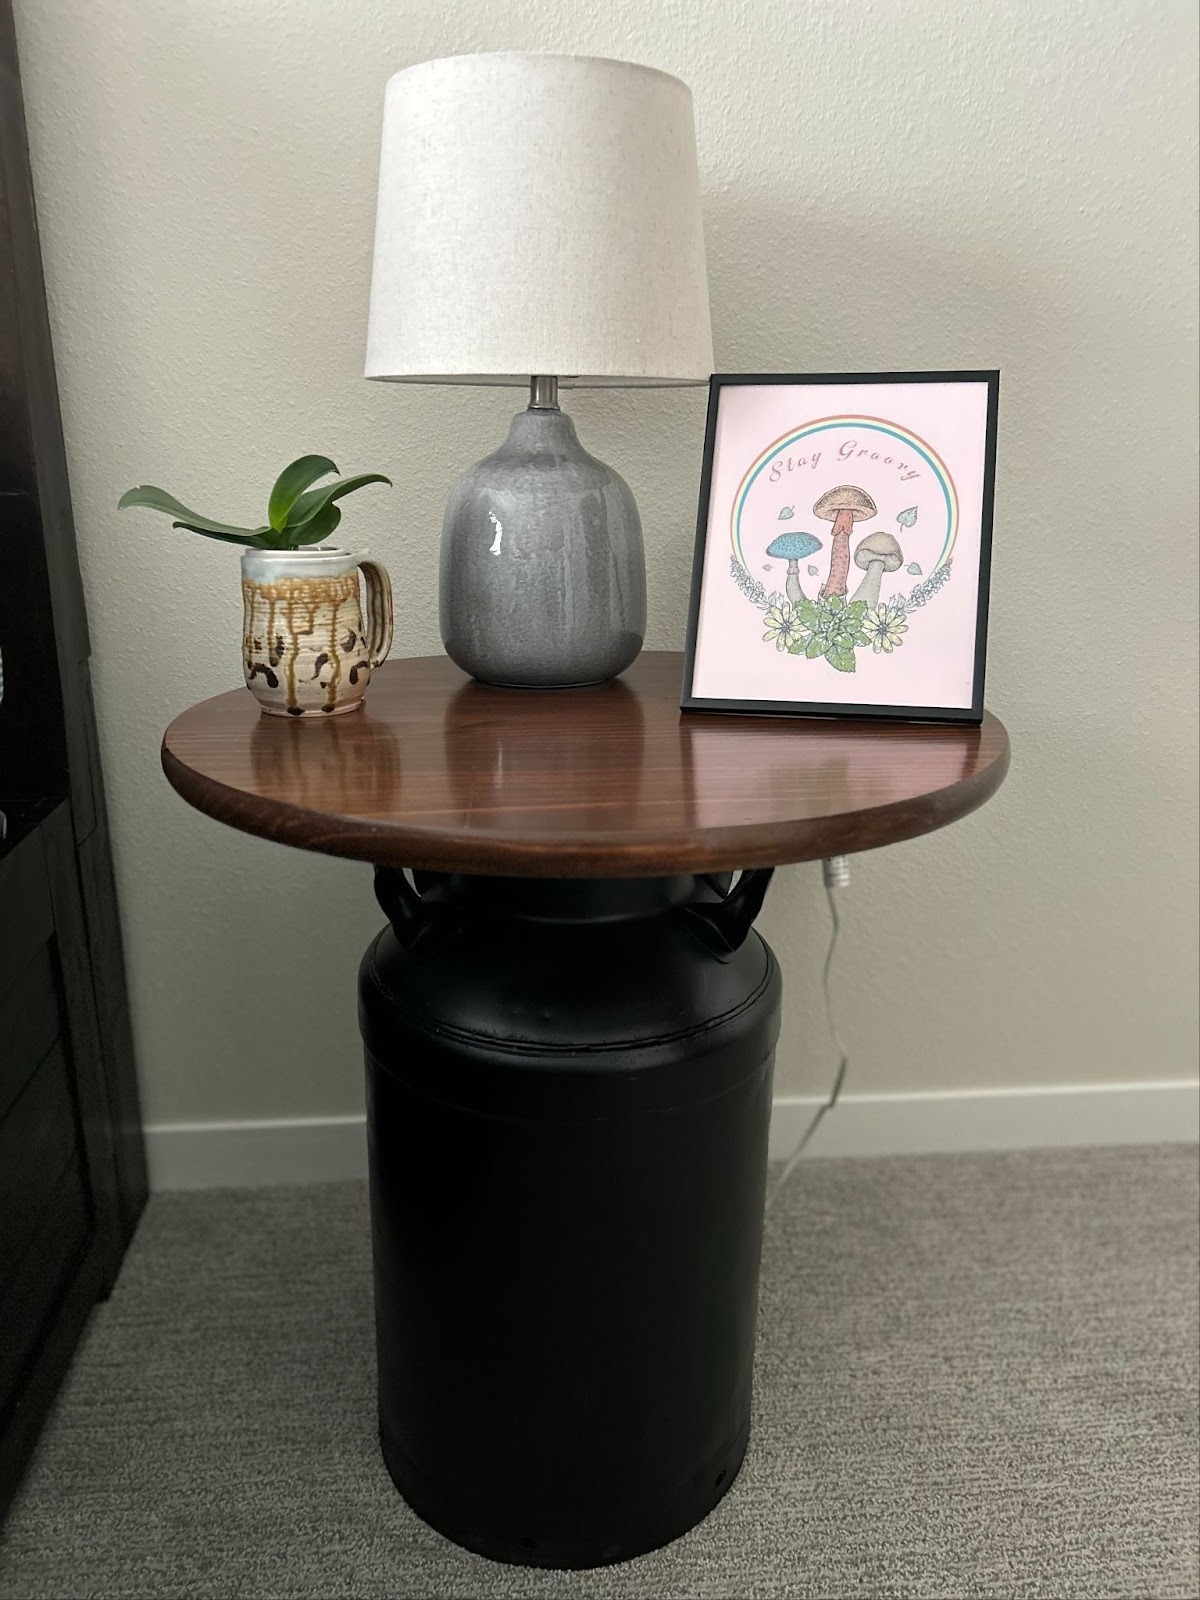
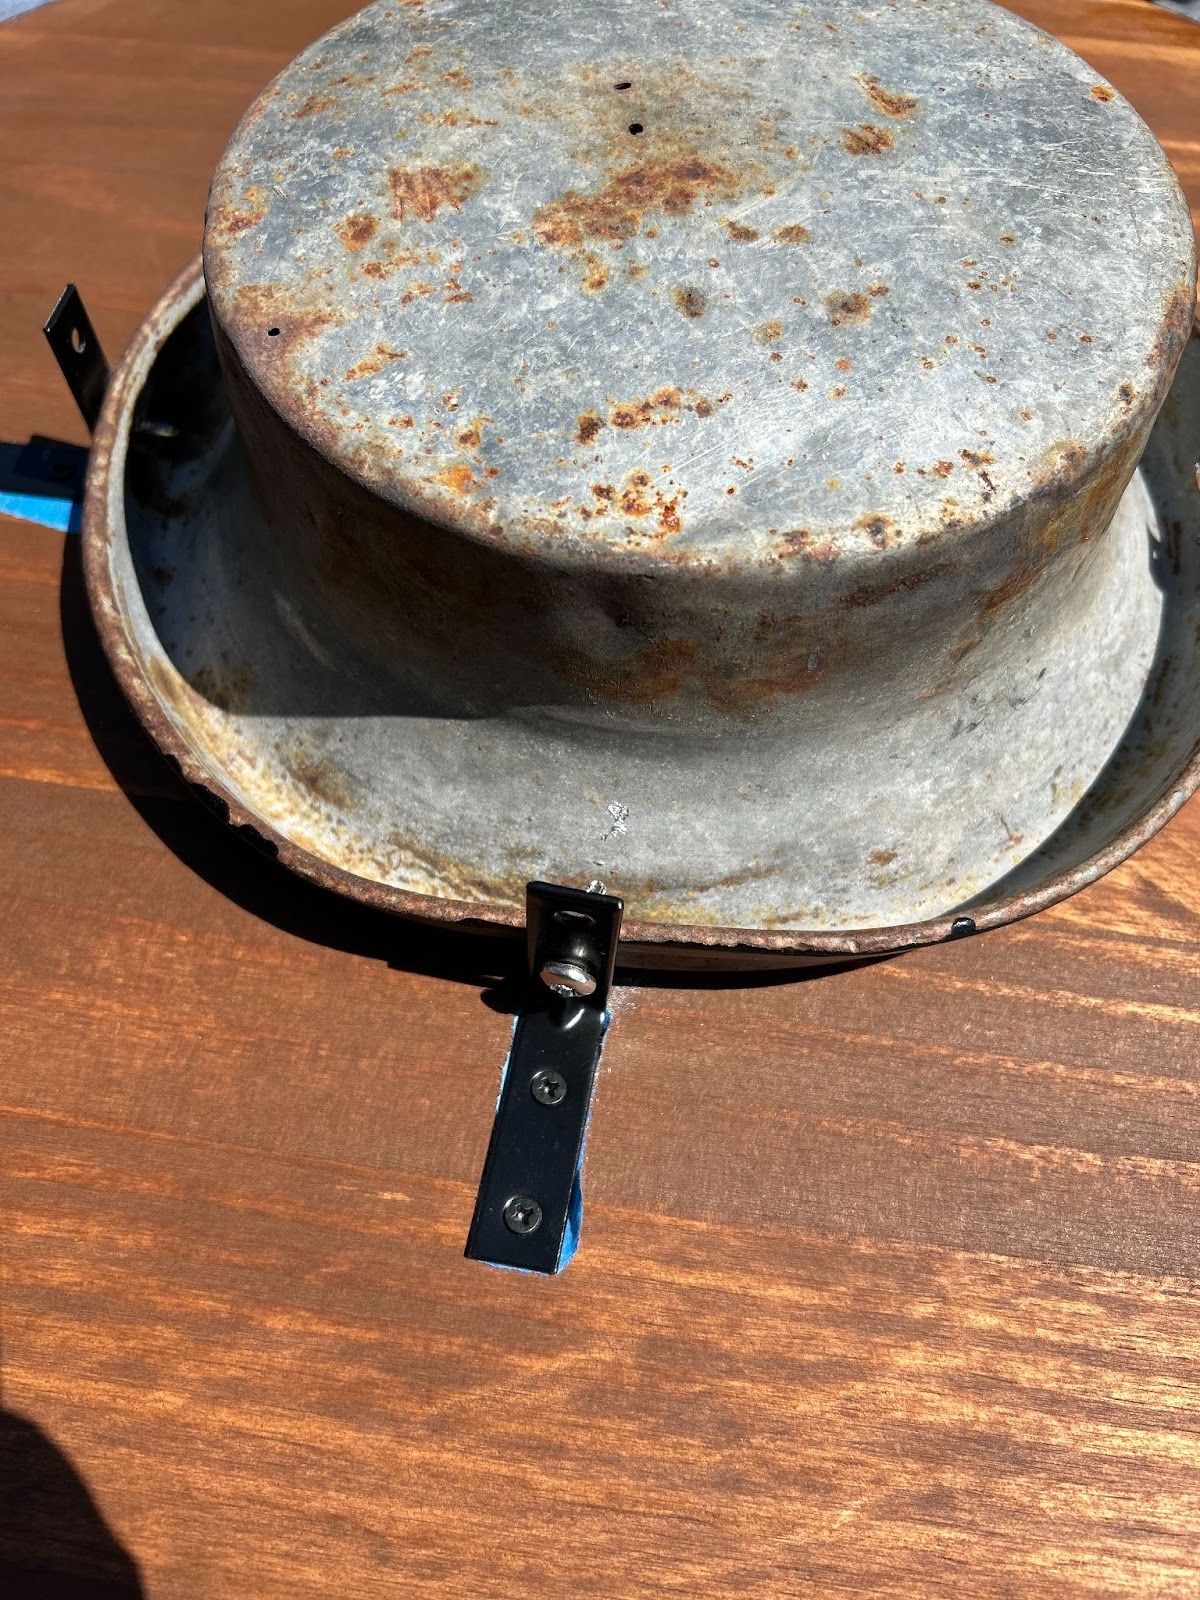
Step 8: The last step! After the 24 hour drying period of the final coat, she added brackets to the bottom of the wooden top and screwed it onto the milk jug lid.
The final product turned out amazing! Tracie used her new side table as the nightstand in her guest room.
DIY projects are for anyone and everyone! You can come into Kenyon Noble with an idea and let our experts help you execute your vision! Come and shop all your project needs at your local Kenyon Noble.
Thank you to our friend Tracie for letting us tag along and watch your project unfold.