How to Start Seedlings Indoors
Starting plants from seeds indoors isn’t difficult or complicated once you understand how the process works.
You'll need to start with the right growing medium, some containers, enough light, warmth, and all the attention they need. One note before you go out to buy your seeds: if this is the first time you've tried starting seeds indoors, don't buy too many. We suggest starting with a dozen or so packets in about four or five varieties until you get the hang of it.
1. Start with the Right MIX
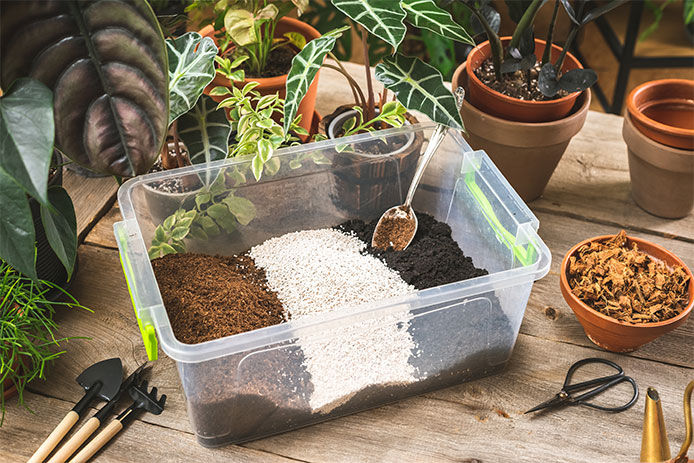
To grow seeds, it is good to start with a seed starting mix. It needs to hold enough moisture to start propagation but not enough to drown the seeds.
You can use either compressed pellets of peat or coconut husk fibers or use seed starting mix, which comes in bags. A seed already contains everything a seedling will need to grow, so you won’t need fertilizer at this point.
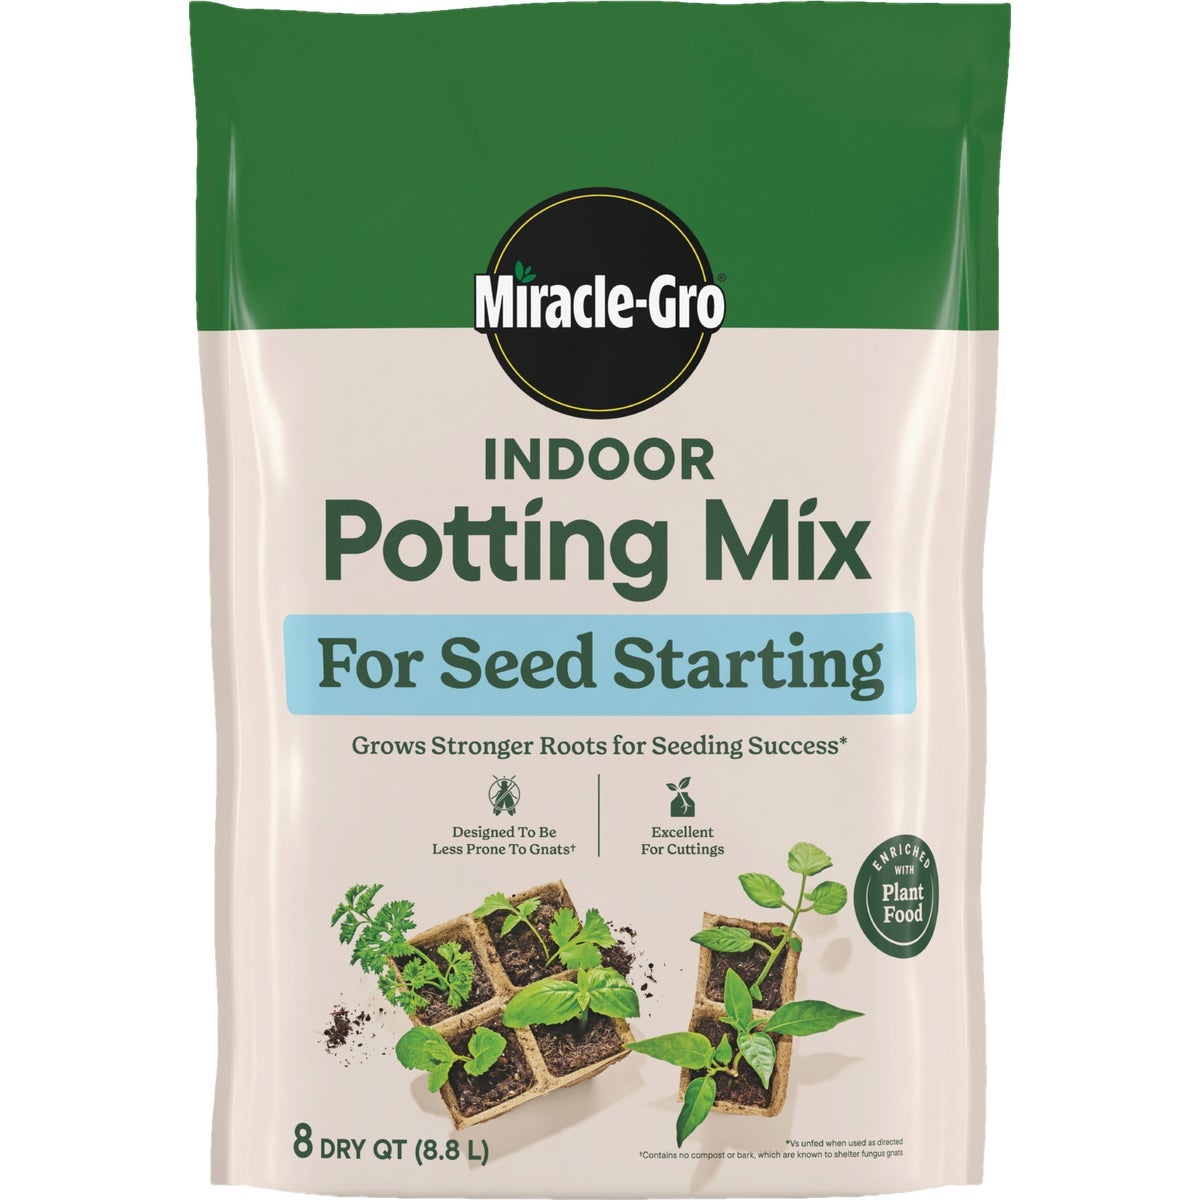
Miracle-Gro Seed Starting Potting Mix
This mix is enriched with Miracle-Gro Plant Food and is specially formulated for fast root development. It is excellent when starting from seed or starting plants with leaf, stem or root cuttings.
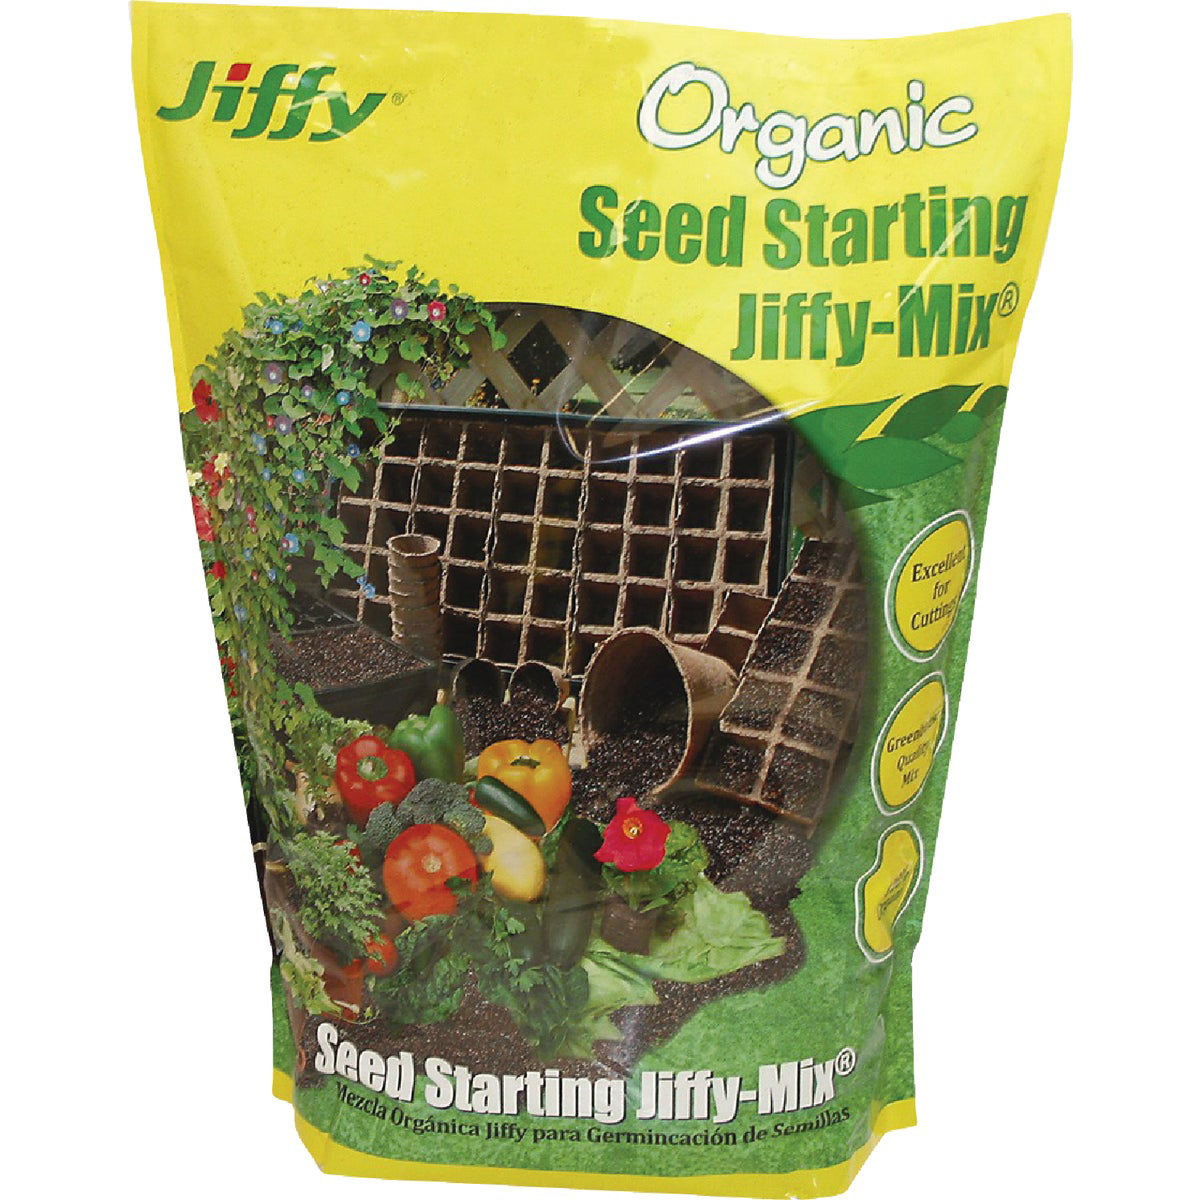
Jiffy All Purpose Container Organic Seed Starting Mix
Jiffy Organic Seed Starting Mix provides a greenhouse-quality growing medium for cuttings and seed starting.
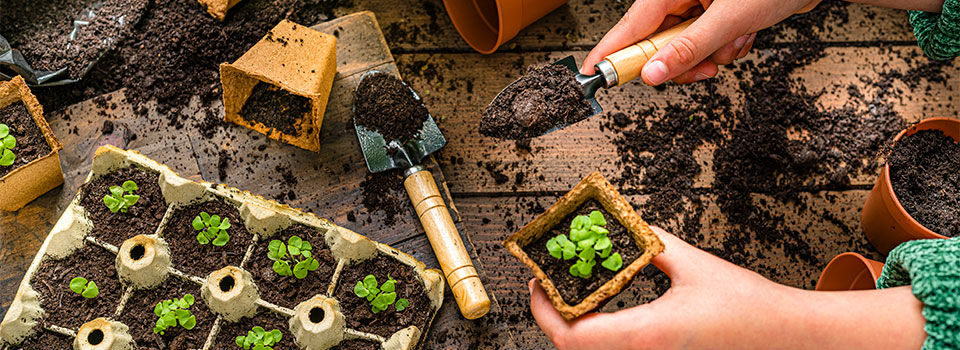
2. Choose Your Container
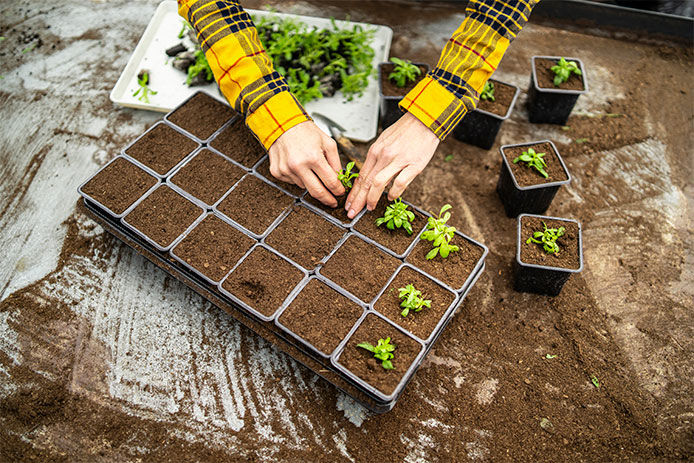
A variety of containers, typically three to four inches across, can be used to hold the medium you're growing your seeds in. Cell-packs or pots that you bought last year's flowers in will do the job nicely, but whatever you use needs to be sterilized. You can make a solution of nine parts water to one part of bleach and wash your container, then rinse thoroughly.
Make sure that the containers have holes for drainage in the bottom so any excess water can drain. You will want to get a shallow, waterproof tray to set them in. Be sure you’re pots are no larger than three to four inches since they’ll be transplanted into the garden (or a larger container if you’re container gardening).
You can also buy pots that will decompose in the soil. The pot and all are planted in the soil, so the tiny plant's roots aren't disturbed. There are also seed starting trays that have a set of attached containers, a tray to set them on for drainage, and a transparent lid to keep up the humidity in the seeds’ early stages.
Featured Seed Starter Kits
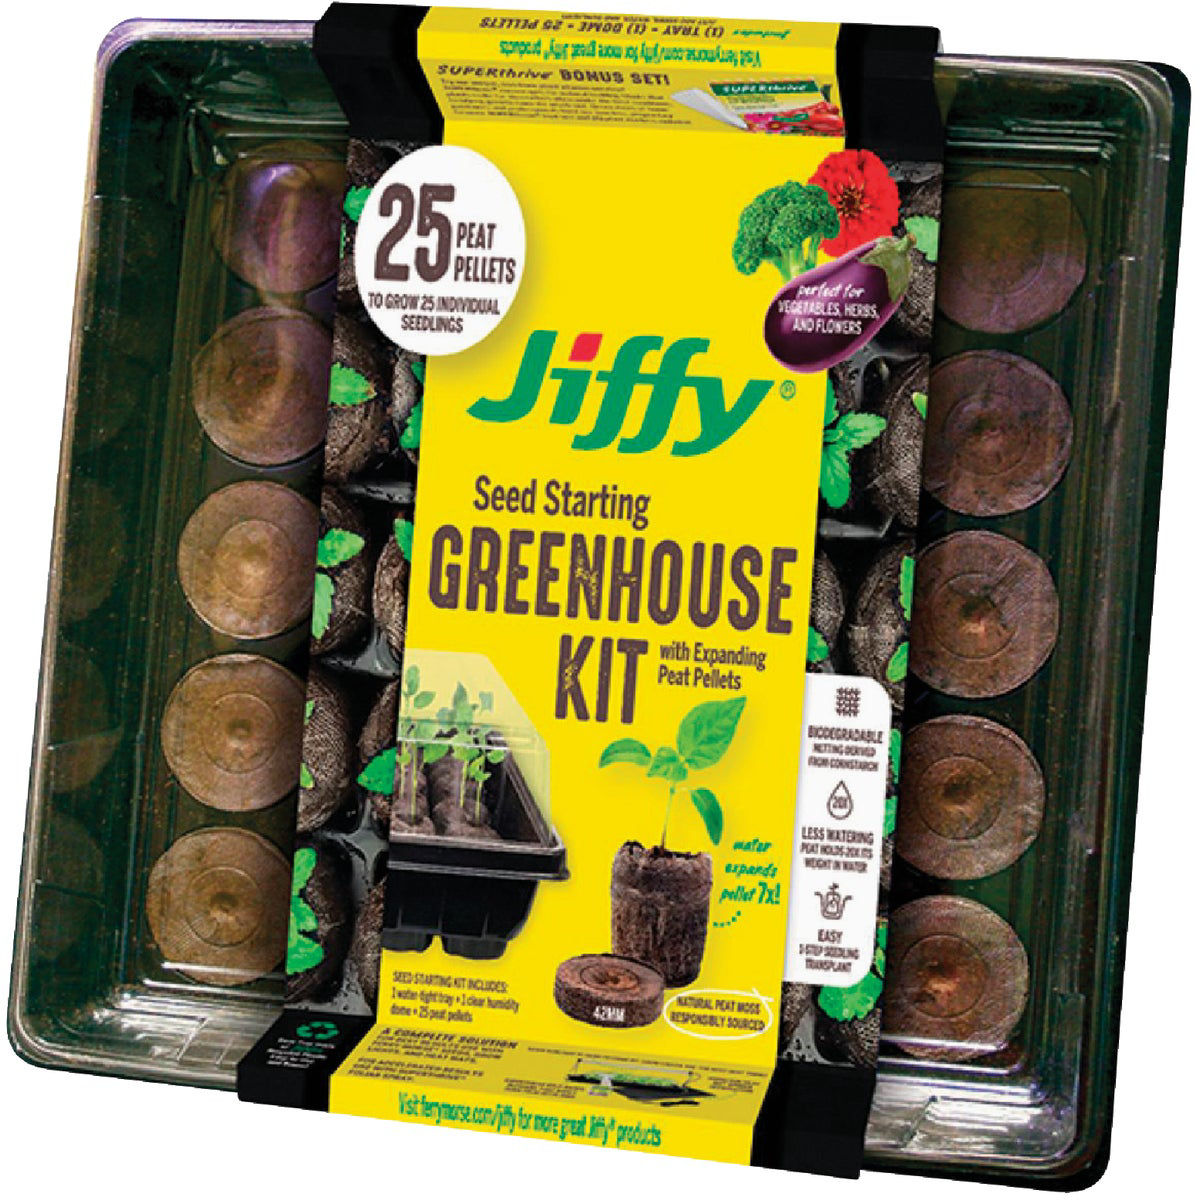
Jiffy Professional 25-Cell Seed Starting Greenhouse with SUPERthrive
25-cell 42mm greenhouse. Includes 1 clear plastic humidity dome, 1 watertight base tray, 25 42mm peat pellets, SUPERthrive sample, and 6 plant markers.
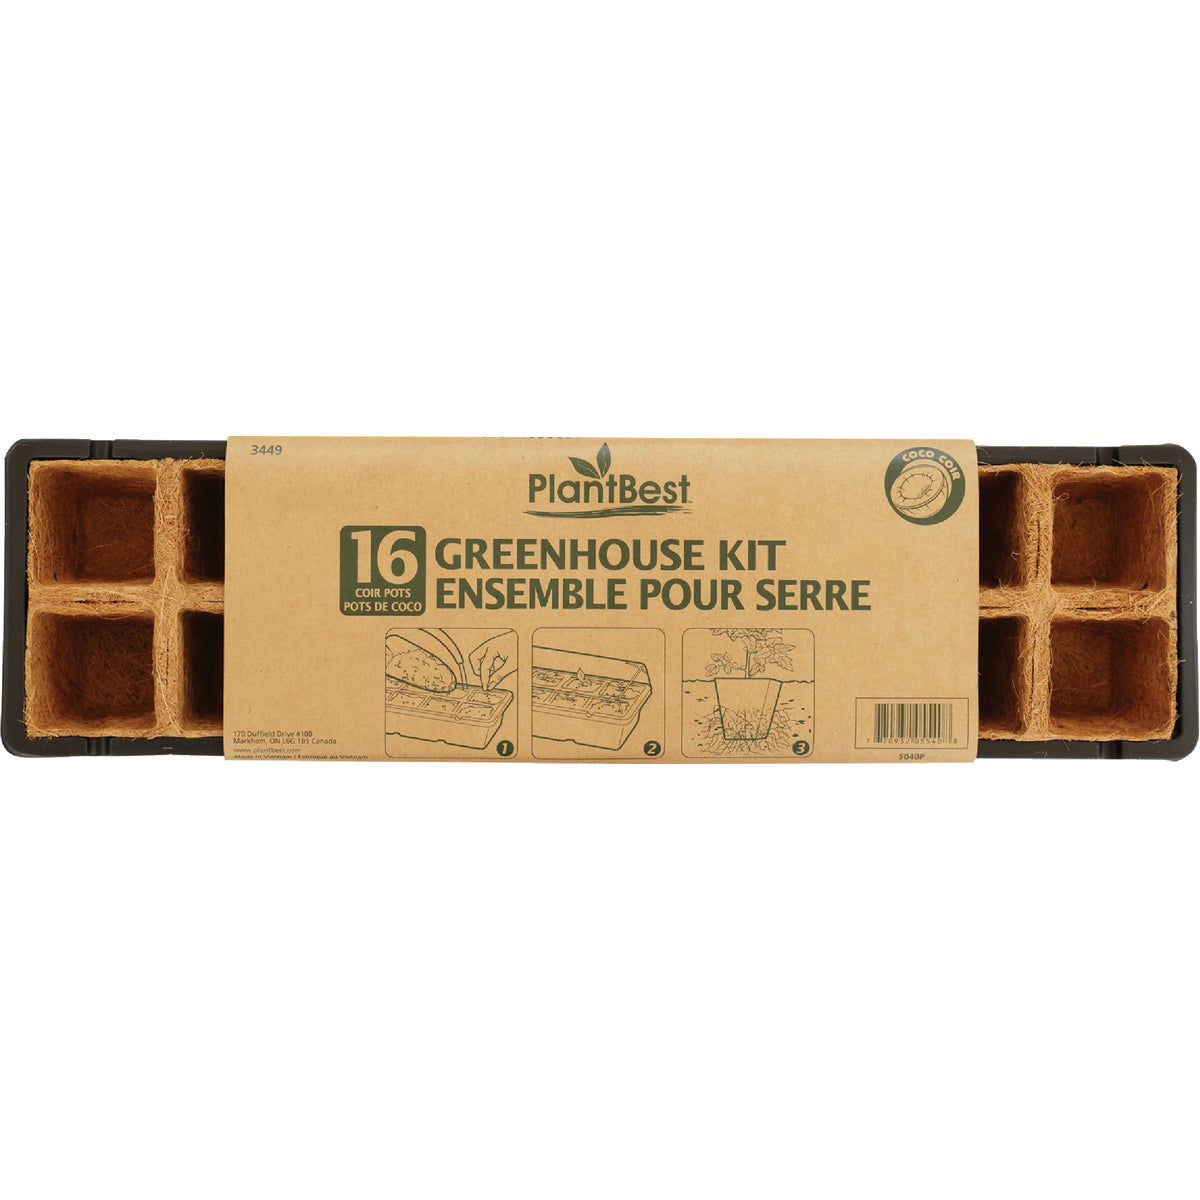
PlantBest 16-Cell Coir Seed Starter Kit
Includes a greenhouse tray, humidity dome, and coconut coir cells. Each cell is 1.75 inches in diameter. Made from pH neutral, sustainable and renewable coconut coir husks.
3. Add a Light and Heat Source
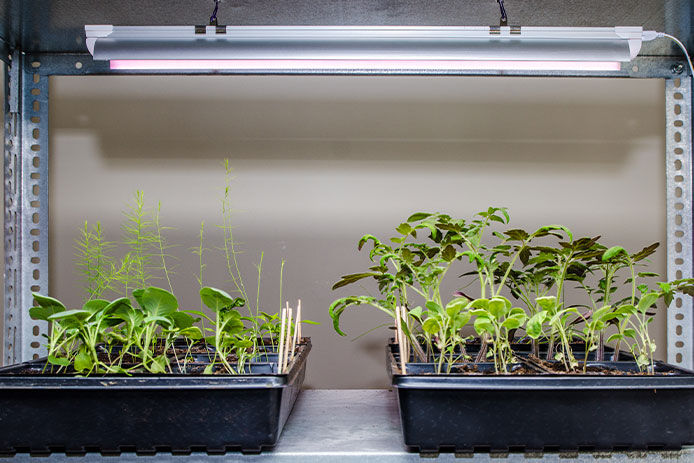
If there isn't sufficient light, your plants will be spindly, sickly, and stocky. The key to having a successful indoor garden is to put it within sight of a window so that it receives between four to six hours of sunlight everyday.
One way or another, you’ll need a sunlight source for sufficient lighting. This can be artificial if you don’t have window lighting readily available. You can even buy grow lights made for growing plants, but fluorescent shop lights with one cool bulb and one warm bulb will work as well.
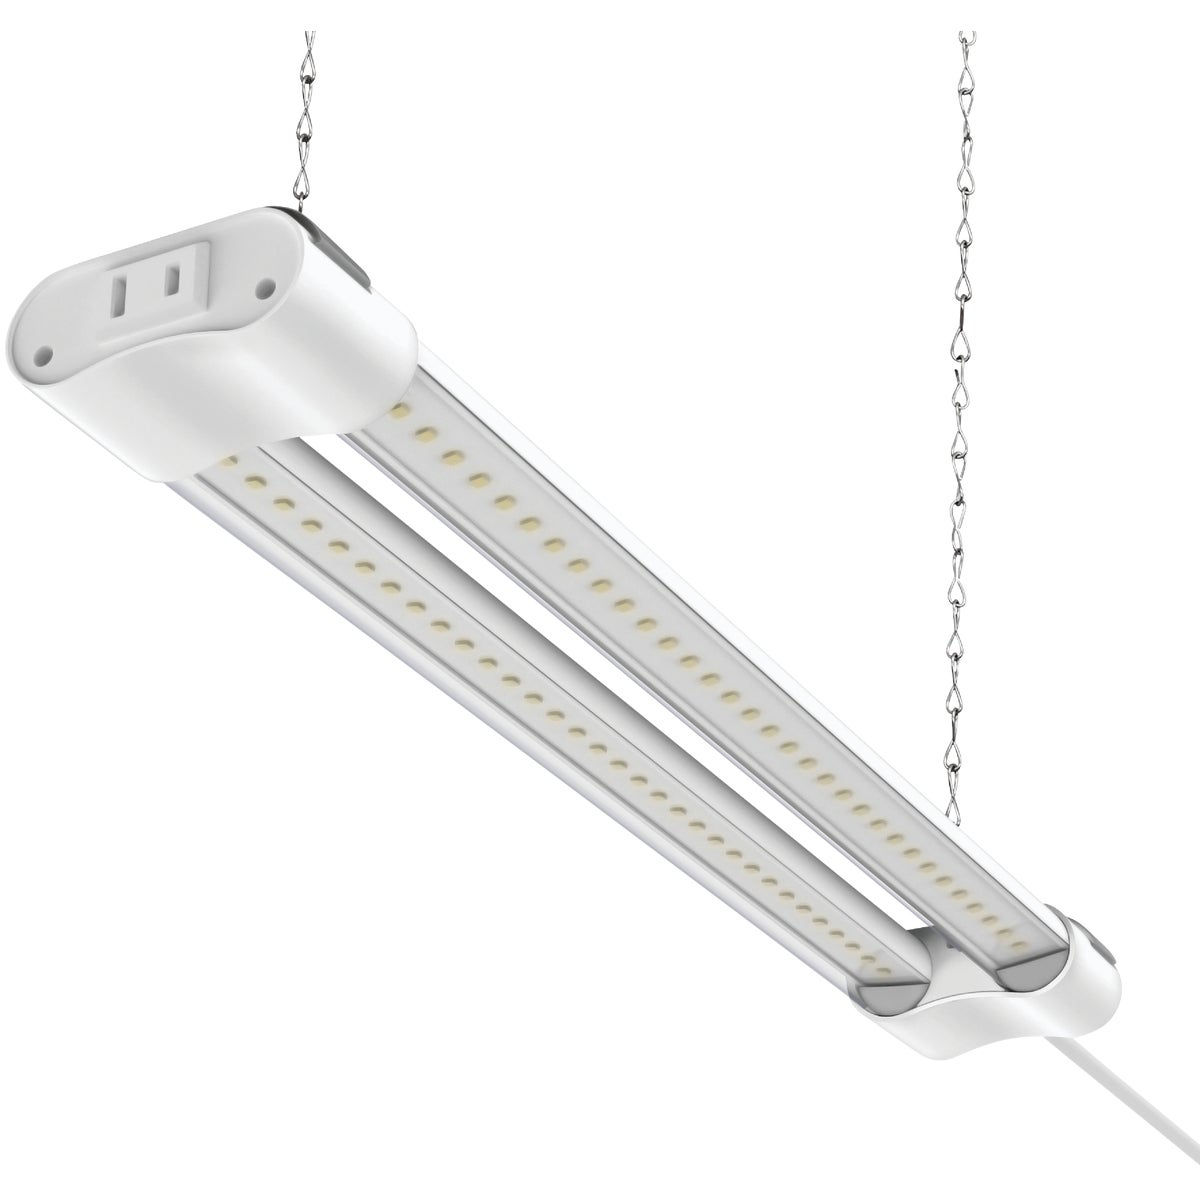
If you do use fluorescent plant lighting, you'll need to hang them from chains. The purpose of the chains are so that you can raise the lights as your seedlings grow. You want to keep the lights about two to three inches above the seedlings. Once the seedlings break the surface, you'll need to keep the lights on for between 12 to 16 hours a day. The easiest way to keep track of this is to set an indoor timer.
For your seeds to germinate, they need to be kept between 65-75 degrees Fahrenheit. You can purchase a seed starting mat to put under your seeds to keep them warm. However, if you have your lighting set up correctly, it should produce enough heat to do the job.
Featured Plant Lights and Heat Products
Good Earth Lighting LED Plant Light
Plug-in LED (light emitting diode) under cabinet or chain hung grow light. Ideal to use when growing herbs and other indoor plants.

Ferry Morse 10 In. x 20 In. 17.5W Seedling Heat Mat
Heat mat ideal for seedlings. Place under seeding trays for quicker germination. Gently warms the root area for better overall success of seedlings. For indoor use only. 10-inch x 20-inch mat.
4. Water Accordingly
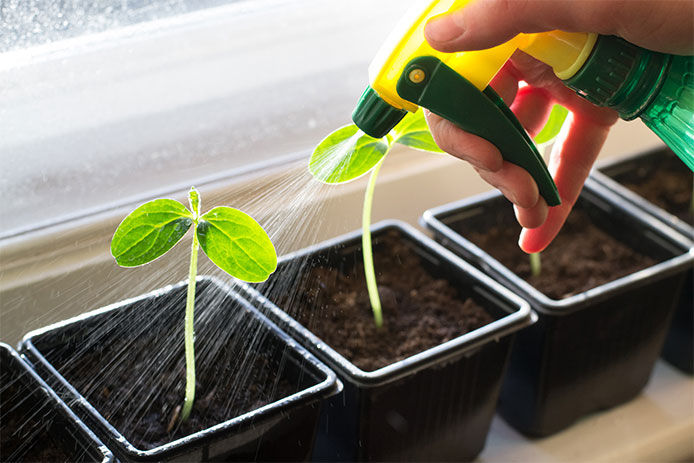
A seedling is very delicate and watering it correctly is probably the most challenging part of raising plants from seed. You want to keep the medium damp, but not fully wet.
Some helpful watering tips include:
- Keep your seedlings covered with plastic until you see seeds are poking through the soil
- Water your seedlings from the bottom by putting the water in the seed tray, allowing the plants to soak up the water through the holes in the bottom of their pots
- Check your little seedlings at least once a day to see how they’re doing
5. Move Your Plants Outdoors
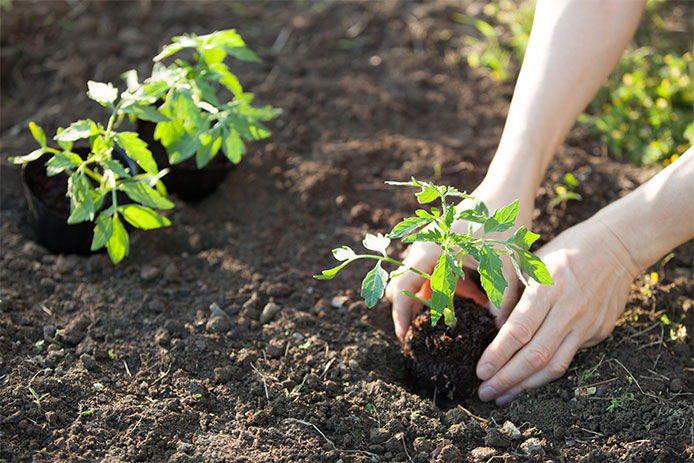
When your seedlings have reached the transplant stage, you’ll need to gradually expose them to the environment. This is done by gradually placing your seedlings outside every day for extended periods of time. This will go on for six to ten days depending on the temperatures and how fragile your seedlings are. Once the plants have reached planting size, then transplant them to your garden or another container.
There is some work involved in raising your plants, but the payoff is taking a bite out of a big, juicy tomato that you’ve raised from a tiny seed!
FARMER'S ALMANAC DATES:
Bozeman Last Spring Frost: June 3
Belgrade Last Spring Frost: June 2
Livingston Last Spring Frost: June 3
While do-it-yourself projects can be fun and fulfilling, there is always a potential for personal injury or property damage. We strongly suggest that any project beyond your abilities be left to licensed professionals such as electricians, plumbers, and carpenters. Any action you take upon the information on this website is strictly at your own risk, and we assume no responsibility or liability for the contents of this article.